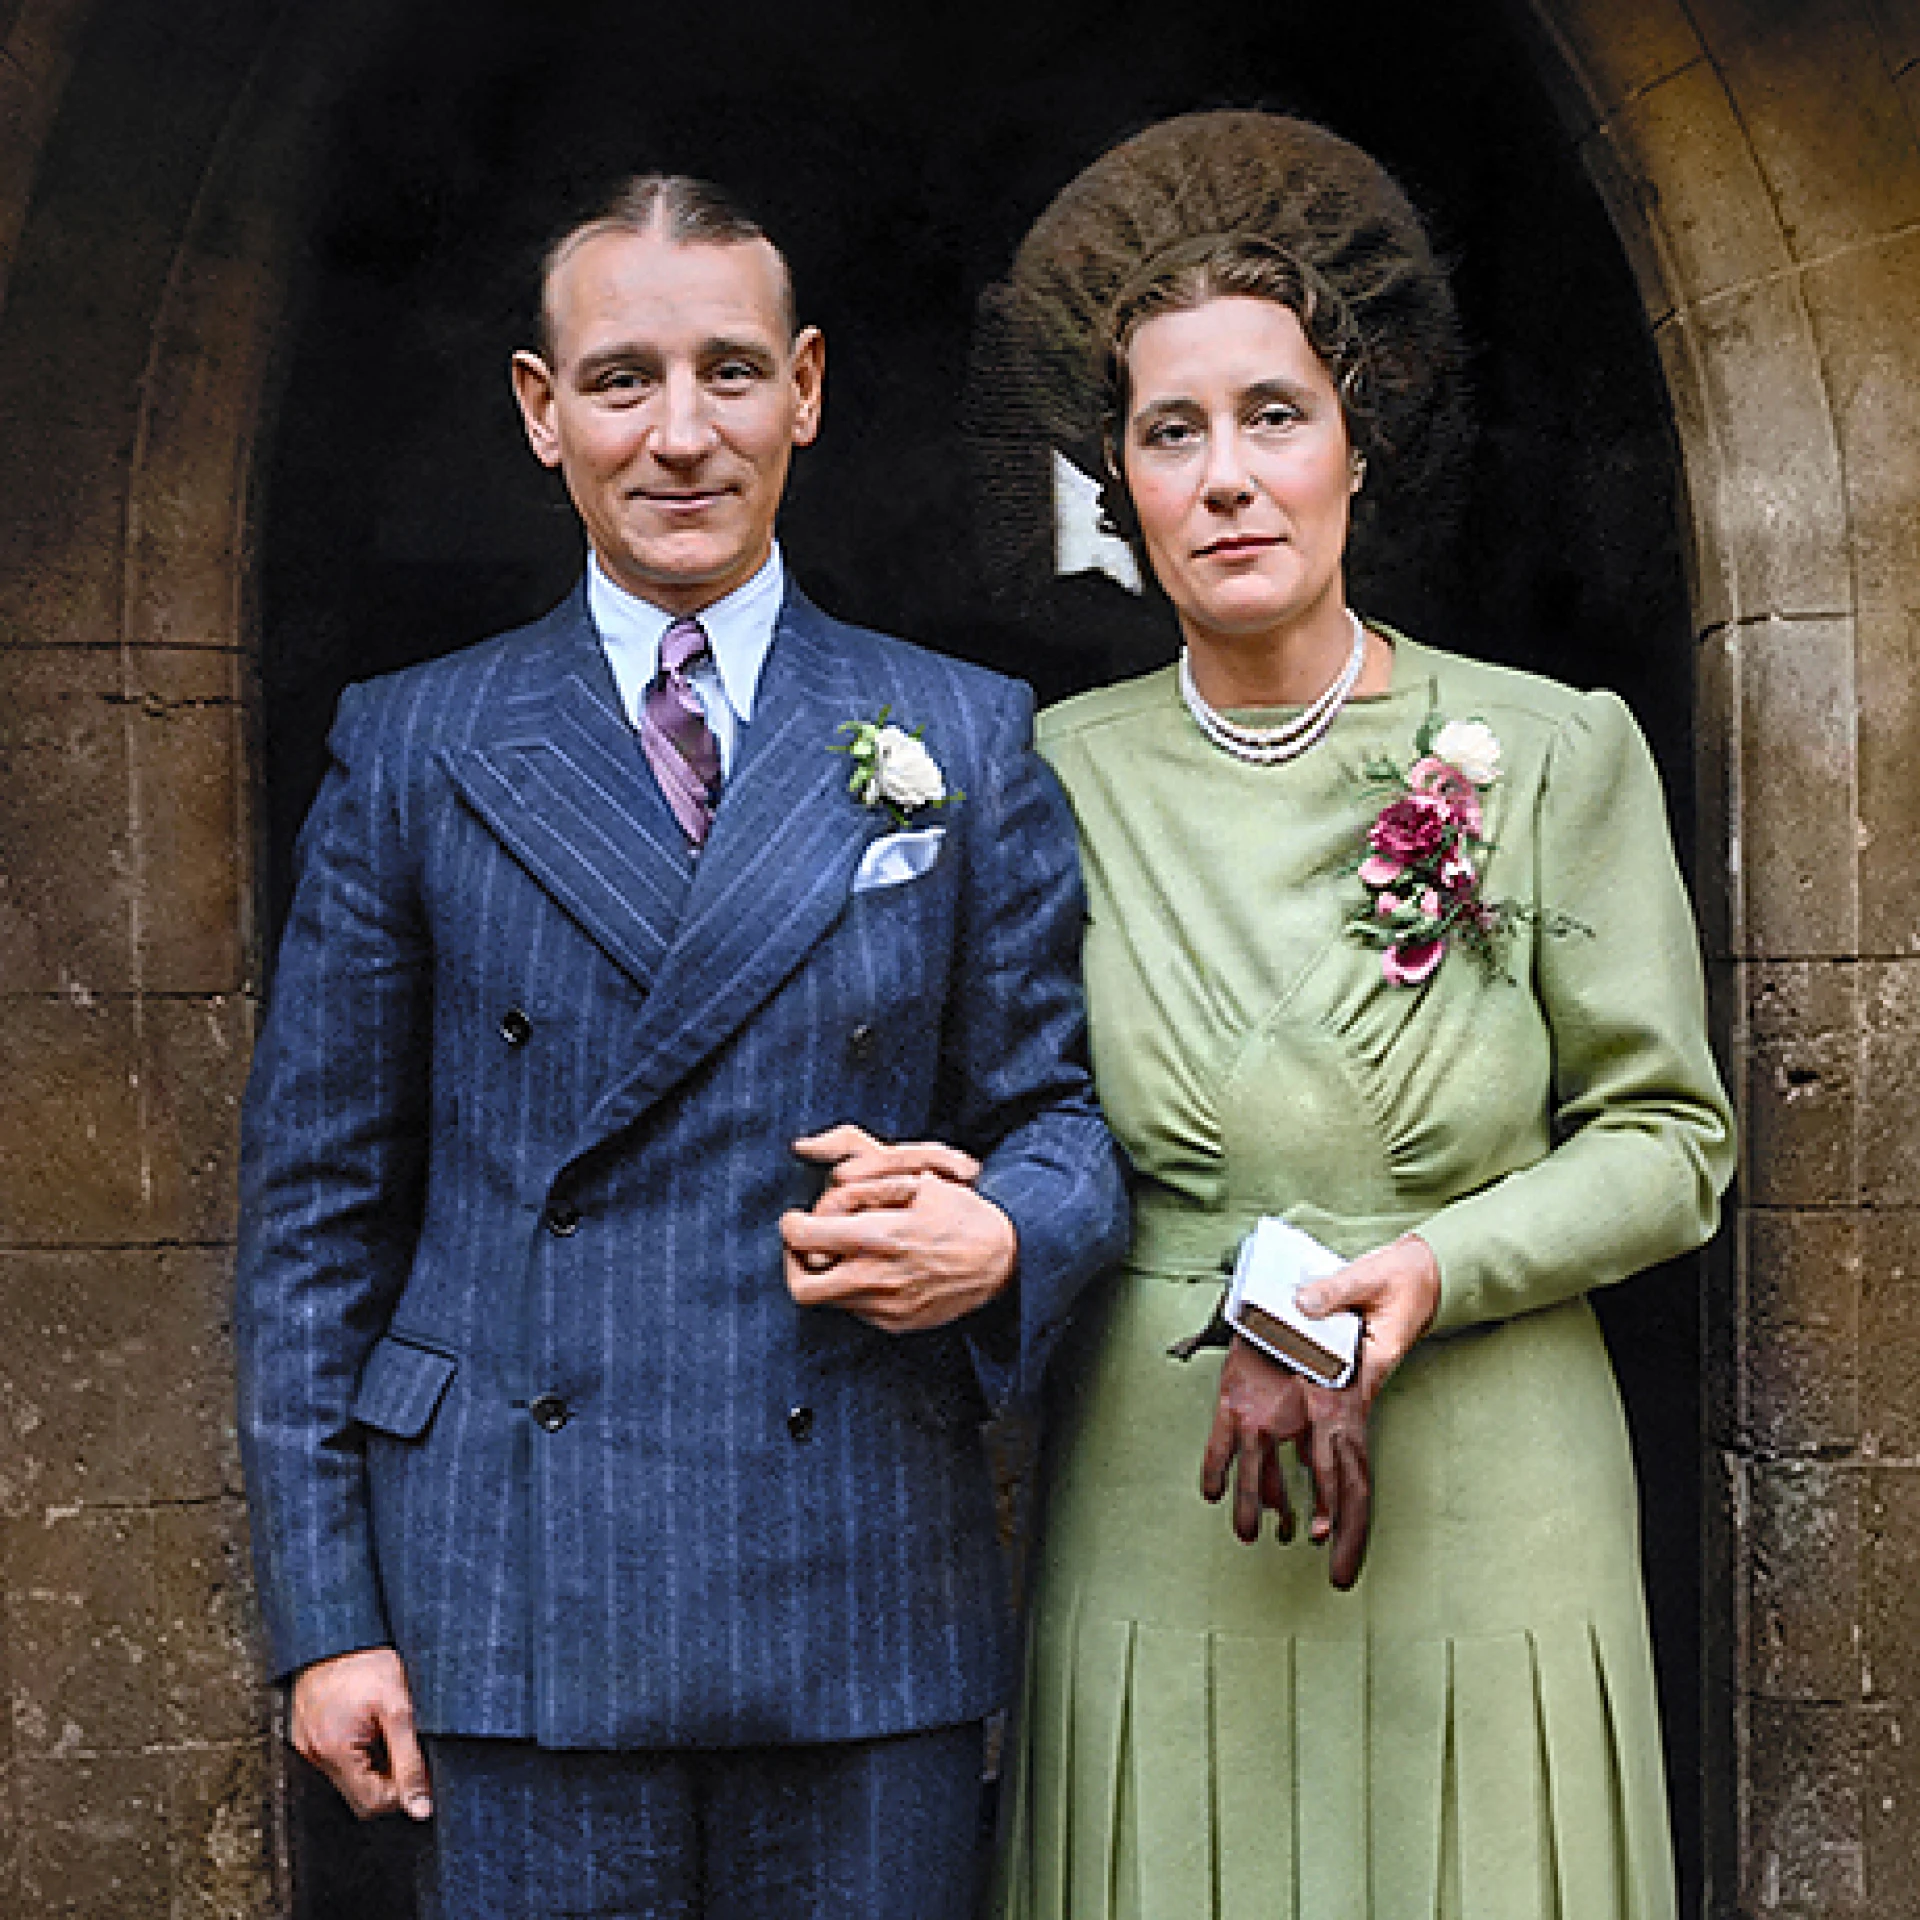
Tips for Digitizing Your Family Photo Collection

Preserving your family memories starts with proper digitization. Follow these expert tips to ensure your precious photographs are properly scanned and organized before restoration.
Preparing Your Photos
Before you begin scanning, take time to organize your photos chronologically or by theme. This will help you maintain a logical structure throughout the digitization process. Clean your photos gently with a soft, dry cloth to remove dust and fingerprints.
Choosing the Right Scanner
For best results, use a flatbed scanner with at least 600 DPI resolution. This ensures enough detail for future enlargements and restoration work. Dedicated photo scanners often provide better color accuracy and automatic dust removal features.
Scanning Settings
Scan at 300-600 DPI for standard 4x6 photos, and up to 1200 DPI for smaller photos or slides. Use TIFF format for archival purposes, though JPEG at high quality is acceptable for general use. Always scan in color, even for black and white photos, as this preserves more information.
Organization and Backup
Create a consistent naming convention for your files, including dates and subjects. Store your digital photos in multiple locations - cloud storage, external drives, and local copies. This ensures your memories are safe from hardware failures or accidents.
Ready for Restoration
Once digitized, your photos are ready for AI-powered restoration. Modern apps can remove scratches, enhance colors, and even colorize black and white photos automatically. The better your original scan, the better the restoration results will be.
Ready to restore your digitized photos?
Try our AI-powered photo restoration app
